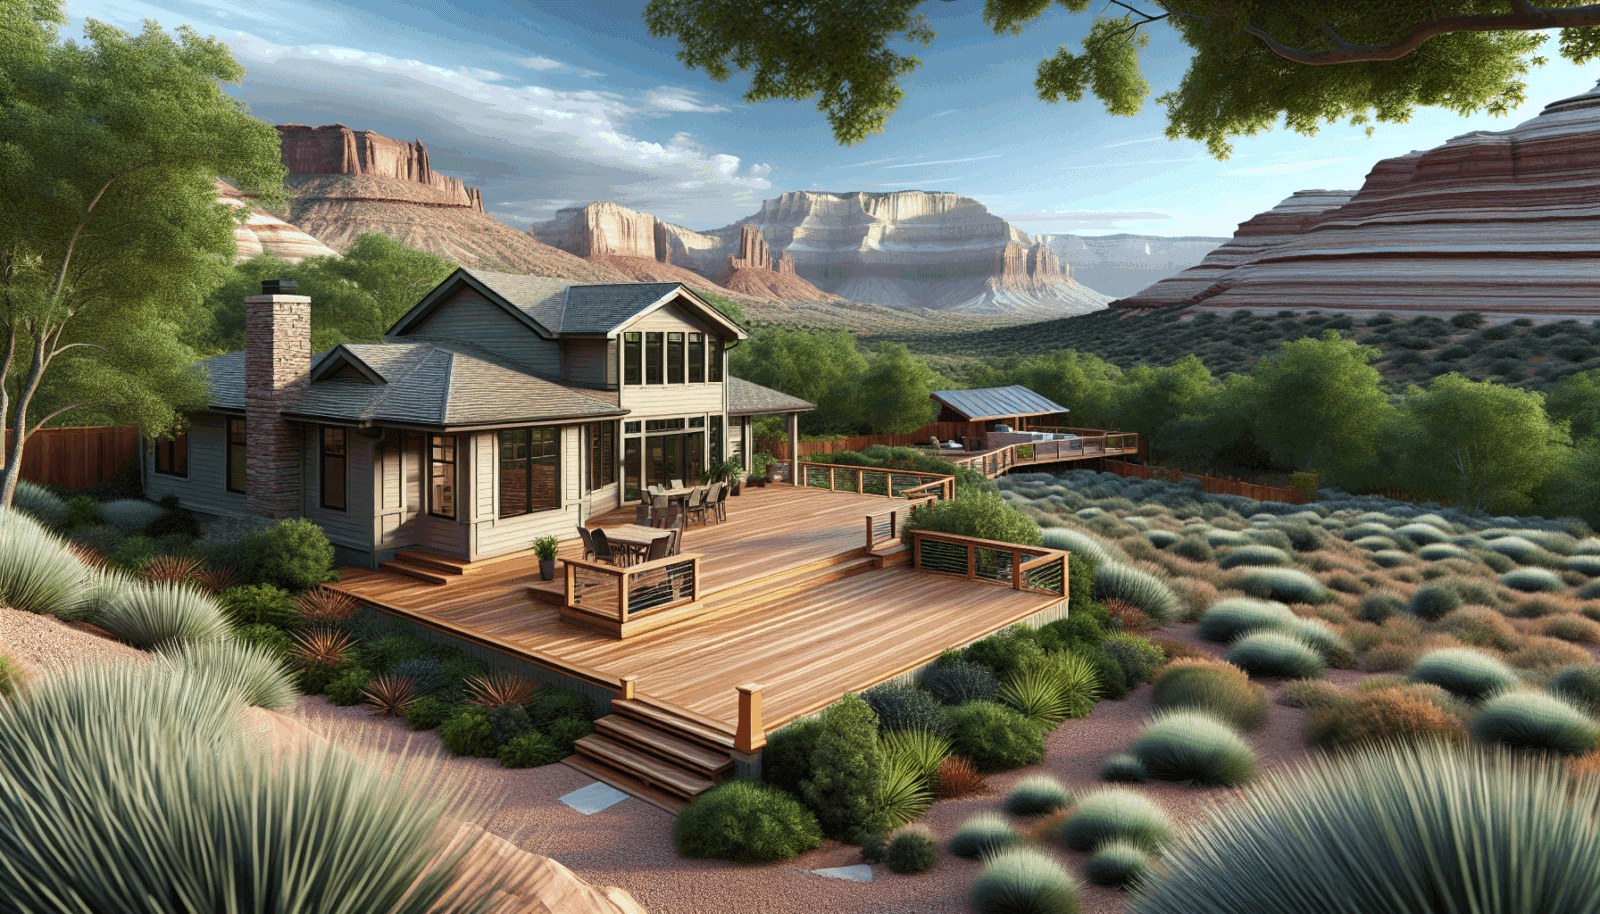
Installing a Trex deck can seem daunting, but it’s easier than you think—and we’re here to help! At Utah Deck Company, we know the ins and outs of deck Installation. This guide will walk you through every step, ensuring a smooth process from start to finish. So, if you’re ready to upgrade your outdoor space with a durable and stunning Trex deck, read on!
Contents
Understanding Trex Decking
Trex decking is a popular choice for homeowners who seek a low-maintenance, eco-friendly option. Made from 95% recycled Materials, Trex combines sustainability with beauty. Its resistance to fading, staining, and scratching makes it a favorite for those who love spending time outdoors without the hassle of constant upkeep.
Moreover, Trex offers versatile styles and Colors, allowing you to customize your deck to fit your unique aesthetic. You can choose from a variety of finishes that mimic the look of natural Wood, without the drawbacks. Ready to make the switch to a sustainable deck solution? You’re in the right place!
Gather Your Tools and Materials
Before diving into installation, ensure you have all the necessary tools and materials on hand. This preparation will save you time and frustration during the process. A well-stocked toolkit is your first step toward a successful deck installation.
You’ll need items like a drill, saw, measuring tape, level, and safety gear. Also, gather your Trex decking boards, hidden fasteners, and any other components needed for your specific design. Once you’re equipped, you’ll be ready to tackle your project with confidence.
Planning Your Deck Design
The design phase is where creativity meets practicality. You need to consider the size, shape, and purpose of your deck. Will it host large gatherings or serve as a cozy private retreat? These factors will influence how you proceed.
It’s crucial to measure your outdoor space accurately and decide on a layout that complements your home’s architecture. Sketch your ideas and plan the placement of all elements, including railings, steps, and built-in seating. This blueprint will guide you through construction and ensure you create a functional and pleasing outdoor area.
Preparing Your Workspace
A clean and organized workspace is essential for any construction project. Start by clearing the area where the deck will be installed. Remove obstacles and debris to create a safe working environment.
You should also mark the perimeter of your deck with stakes and string to outline the layout. This visual aid helps you stay on track and avoid errors during installation. Proper preparation sets the stage for a seamless building process.
Building the Foundation
Every solid structure begins with a strong foundation—your deck is no different. Depending on your design, you may require concrete footings or ground-level supports. Follow local building codes to ensure safety and compliance.
Begin by setting your footings in place, making sure they’re evenly spaced and level. This groundwork supports the entire structure, so precision here is key. Taking time with your foundation will pay off with a stable and lasting deck.
Installing the Framing
Once your foundation is ready, it’s time to install the framing. Begin by cutting your framing materials to size, following your design plan closely. The frame provides the deck’s shape and support, so accuracy is critical.
Secure your joists, ensuring they’re level and evenly spaced. This creates a sturdy base for laying the decking boards. Take care during this step, as it impacts the overall durability and appearance of your deck.
Laying the Trex Decking
Now for the exciting part—laying your Trex decking! Start at one corner, and work your way across the frame, securing each board with hidden fasteners. These fasteners provide a seamless look and eliminate visible screws or nails.
Make sure each board is flush against its neighbor to create a uniform surface. Continue working methodically, checking for alignment as you go. By the end, you’ll have a gorgeous deck surface that’s ready to enjoy!
Finishing Touches
Finishing touches can elevate your deck from basic to brilliant. Think about installing railings, lighting, or even a pergola for added flair and functionality. These elements enhance safety and aesthetics.
Consider staining or sealing your deck to protect it from the elements. Although Trex is low-maintenance, a protective finish can extend its lifespan and maintain its beauty. Customize your deck to fit your style and watch your outdoor space transform!
Common Mistakes to Avoid
Embarking on a deck installation journey is exciting, but mistakes can happen. Here are some pitfalls to avoid, ensuring a smoother process:
- Skipping Planning: Not having a clear plan can lead to costly errors and a non-functional design.
- Ignoring Permits: Always check if you need permits. Not complying can result in fines or having to redo the work.
- Underestimating Material Needs: Running out midway can halt your project and cause delays.
- Incorrect Measuring: Inaccurate measurements lead to alignment problems and unstable structures.
- Rushing the Process: Take your time. Precision and care make a big difference in the final product.
Maintaining Your Trex Deck
Keeping your Trex deck looking new is simple and requires minimal effort. Regular cleaning can prevent dirt buildup and potential staining. A quick rinse with a hose or a mild soap solution will do the trick.
Additionally, inspect your deck periodically for any loose fasteners or damage. Addressing small issues quickly prevents them from escalating. With just a little attention, your Trex deck will stay beautiful and functional for years to come.
Congratulations on reaching the end of our beginner’s guide! With these tips, you’re ready to transform your space with a stunning Trex deck. Need help? Contact Us at 801-921-6826 or Request a Free Quote.


