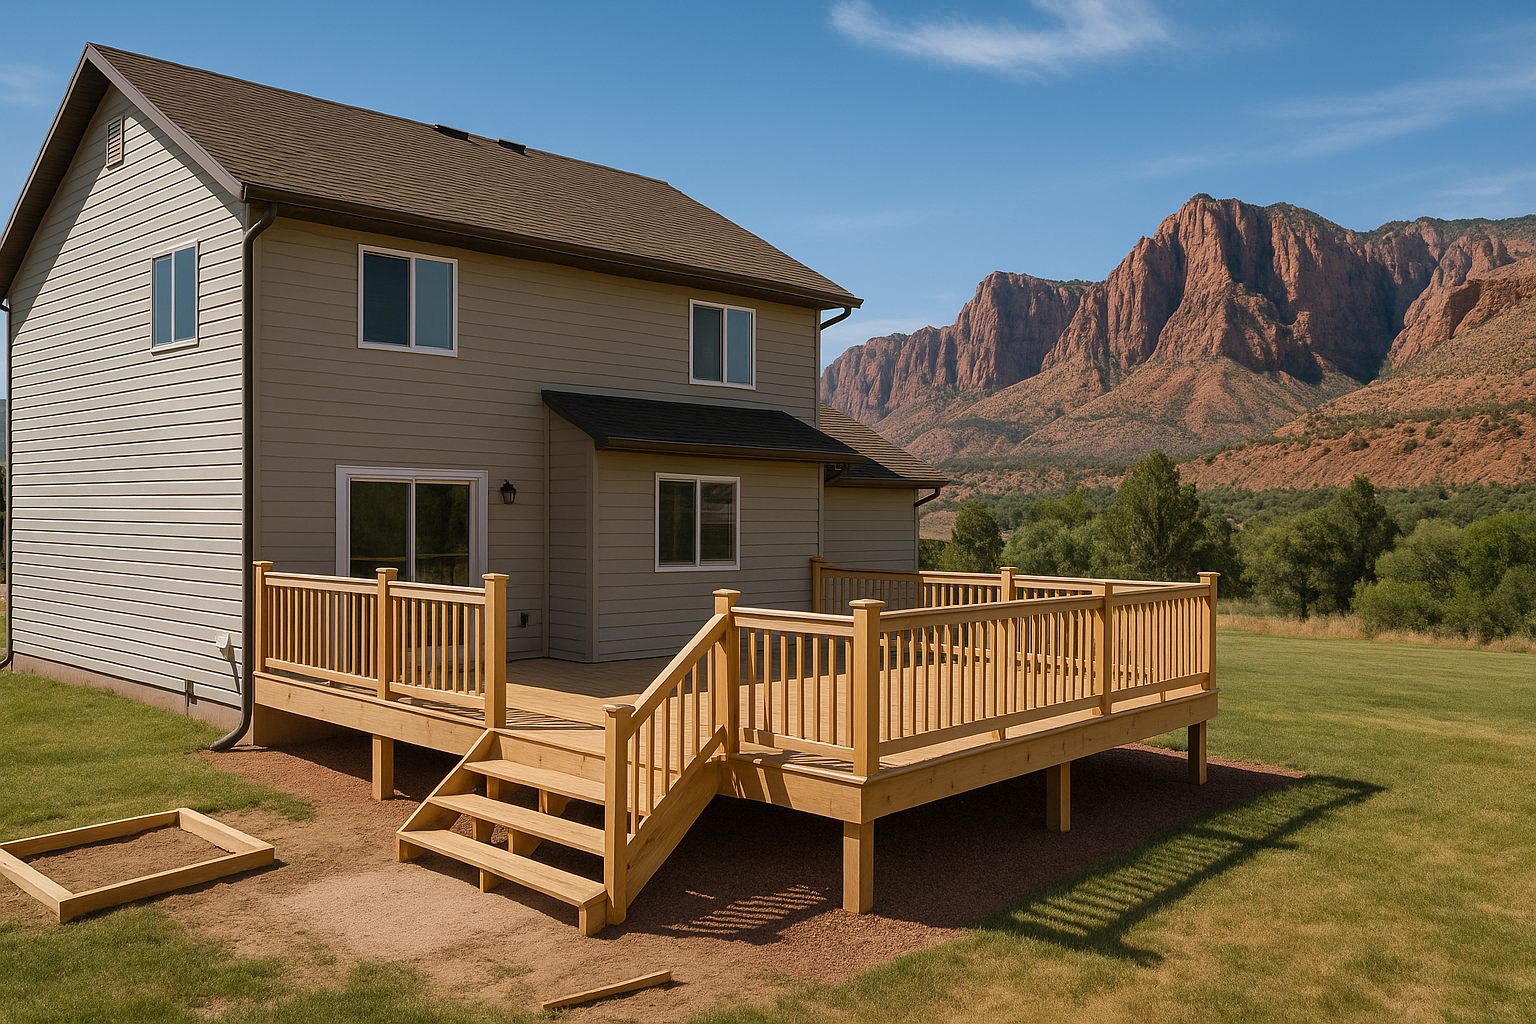
Picture this: a warm Salt Lake summer night, a few friends, the grill going, and you kicking back on a sturdy deck that feels like an extension of your living room. That’s the big idea. But a great deck doesn’t happen by accident. It takes smart planning, a little technical know-how, and the right team. As the crew at Utah Deck Company, we’ve helped homeowners across the Wasatch Front turn backyard plans into everyday spaces. Let’s walk through how to plan and install a deck that fits your home, your life, and our high-altitude climate.
Contents
- 1 Start With the Big Picture: How Will You Use Your Deck?
- 2 Design Choices That Fit SLC Life
- 3 Permits, Codes, and HOAs: The Not-So-Fun Stuff That Matters
- 4 Materials: What Works Best Along the Wasatch Front
- 5 Footings, Framing, and Fasteners: The Bones That Make It Last
- 6 Step-by-Step: How a Professional Deck Build Unfolds
- 7 Safety, Railings, Stairs, and Lighting That Feel Natural
- 8 Budget, Schedule, and Seasonal Timing
- 9 Maintenance in a High-Altitude Climate
- 10 Why Work With Utah Deck Company
- 11 Ready To Plan Your Deck? Let’s Talk
Start With the Big Picture: How Will You Use Your Deck?
Before you get into Wood species or railing styles, step back. Who’s using the deck? How many people? Is it for morning coffee, big family dinners, or a quiet spa corner after a ski day at Brighton? That “why” drives everything—from size to structure.
Here’s the thing: decks are simple, yet not so simple. They’re simple to love. They can be complex to build right. A great plan keeps both truths in view.
- Activities Think dining table, grill zone, lounge chairs, or a shade pergola. Map traffic: kitchen to grill, slider to stairs.
- Size A table for six needs around 12×16 feet to feel comfortable. Add space for pathways and rail clearances.
- Orientation South- and west-facing decks in Salt Lake City get serious sun. Shade and material choice matter.
- Views and privacy Frame the Wasatch; screen the neighbor’s window. Railing style changes the feel.
You know what? A cardboard mockup on the lawn for a weekend can settle the size debate better than any drawing. Tape it out. Walk it. Adjust once, not five times.
Design Choices That Fit SLC Life
Salt Lake City has four real seasons, dry air, and big temperature swings. That affects how a deck looks and lasts. Let me explain how climate nudges design decisions.
Shade is a feature. Umbrellas work, but pergolas or shade sails create daily comfort without a big budget. If you love the view west toward the Oquirrhs, plan for late-afternoon sun.
Snow happens. Think about snow shedding paths, safe stair treads, and lighting for short winter days.
Wind and ash on the west side, more shade on the east benches—small microclimates change the maintenance plan. It’s local, not generic.
| Material | Pros in SLC | Considerations |
|---|---|---|
| Pressure-treated pine | Budget-friendly; easy to Repair | Needs sealing; can check/splinter in dry air |
| Cedar or redwood | Warm look; lighter weight | Color fades; regular oiling helps in high UV |
| Composite decking | Low maintenance; UV resistant; stable | Higher up-front cost; must manage heat on west exposures |
We often recommend composite decking for the Salt Lake City sun and dry winters. Brands like TimberTech, Trex, and Fiberon hold up well here. Still love real wood? Cedar with a thoughtful finish schedule can be gorgeous and durable.
Permits, Codes, and HOAs: The Not-So-Fun Stuff That Matters
Now to the nuts and bolts of legality. Most decks in Salt Lake City that are attached to the home or sit higher than a couple of feet above grade need a permit. The city follows the International Residential Code with local amendments, and HOAs often add design rules of their own.
- Permits Expect a site plan, framing plan, and details for posts, beams, joists, and connections. Utah Deck Company handles this paperwork for our clients—less stress, fewer delays.
- Frost depth Our footings typically go deep to meet Wasatch Front frost requirements. Proper depth prevents heaving and keeps everything level.
- Snow load and wind Beam spans and post sizes must meet local load design. That’s code talk for “your deck won’t bounce or sway.”
- Railings and stairs Height, baluster spacing, and handrail shape all have rules. They’re there for a reason—kids, guests, and you.
Honestly, the code can feel fussy. But a safe, solid deck is worth it, and inspections protect your investment.
Materials: What Works Best Along the Wasatch Front
We touched on finish surfaces. Let’s round it out with the structure, because the surface is only as good as what’s below.
Framing lumber: Pressure-treated southern yellow pine is standard for joists and beams. For high-end or near water features, we sometimes spec ground-contact rated material.
Footings and posts: Concrete footings sized for soil conditions and load, with galvanized post bases. Posts are typically 6×6 for strength and hardware connections that resist uplift and lateral forces.
Fasteners and hardware: This is where the quiet heroes live. Hot-dipped galvanized or stainless-steel screws, joist hangers, and bolts keep rust at bay. We use hidden fastener systems with many composites for a clean look and fewer snag points.
Flashing and waterproofing: Where the deck meets the house, we install proper flashing to prevent water intrusion. Above-grade tape on joists can add years to the frame by blocking water at screw penetrations.
Footings, Framing, and Fasteners: The Bones That Make It Last
Think of a deck like a bridge you live on. The deck boards get all the compliments, but the frame carries the load. A few pro habits make a long-term difference.
- Layout with intent We square the layout to the house, snap lines, and check diagonals. Small errors early become big headaches later.
- Beam sizing Built-up beams with staggered splices, supported on centered posts. Sounds boring; feels rock solid.
- Joist spacing 12, 16, or 24 inches on center depending on the decking specs and desired stiffness. Composites often like 16-inch spacing or tighter for angled patterns.
- Hardware everywhere Post-to-beam connectors, hurricane ties, lateral load devices at ledger connections—little parts that do big jobs.
There’s a mild contradiction worth noting: a deck should feel light and open, but it needs serious structure under the surface. Get that balance right and you’ll feel it the first time you step out barefoot on a summer morning.
Step-by-Step: How a Professional Deck Build Unfolds
1. Site prep and layout
We mark utilities, clear the area, and protect landscaping. Lines and stakes define the footprint; levels and lasers set heights. It looks like a lot of string—because it is.
2. Footings
Holes are dug to required depth and diameter, then reinforced and poured. We place brackets while the concrete is fresh to anchor posts later. No guessing games after it cures.
3. Ledger and flashing (for attached decks)
The ledger ties the deck to the home’s structure. We open the siding carefully, flash with metal and membrane, then lag or bolt into rim joists per code. This step is picky, and it should be.
4. Posts, beams, and joists
Posts go in the brackets, beams assemble straight and tight, and joists lock into hangers. We crown joists and keep fasteners consistent. It reads like carpentry geek-speak; it’s what keeps everything quiet and true.
5. Decking layout and Installation
We plan board direction, picture-frame borders, and seams. Hidden clips or color-matched screws go down. With wood, we prep for spacing that suits our dry air and occasional wet spells.
6. Railings, stairs, and details
Railing posts are blocked inside the frame, then rails and balusters or glass panels. Stairs get proper rise/run and grippy treads. Lighting wires hide where they should—out of sight, easy to service.
7. Final touches and inspection
We clean edges, sand what needs it, and walk the deck with you. Then the inspector signs off. You get the keys to summer.
Safety, Railings, Stairs, and Lighting That Feel Natural
Good safety doesn’t advertise itself. It just works. Code requires certain heights and spacing, but the style is up to you.
- Railing styles Modern aluminum, composite sleeves with steel cores, cable rails for view-heavy lots, or wood to match rustic homes. In the city, black powder-coated rails are popular and low maintenance.
- Stairs Deep treads are kinder on knees. Landing pads beat mud. If you shovel in winter, keep stairs wide and well lit.
- Lighting Step lights, post caps, and under-rail LEDs add safety and a little evening magic. Low-voltage systems sip power but change everything after dusk.
Small choices here change how the deck feels at night—welcoming, calm, and safe.
Budget, Schedule, and Seasonal Timing
Budgets vary, but transparency helps. We price by materials, size, site access, and features like lighting or pergolas. A straightforward single-level deck with composite boards will usually cost more than wood up front but less to maintain over the years.
Timing-wise, spring and early summer book fast across the valley. Fall builds are smart: you’ll be ready for the first warm weekend next spring. Winter builds? Possible, and sometimes faster if weather cooperates—cold doesn’t stop concrete or carpentry with the right approach.
As for schedule, most decks run from a few days to a couple of weeks once permits are in hand. Complex multi-level spaces take longer, but we keep you updated with a steady rhythm of progress.
Maintenance in a High-Altitude Climate
Composite decks need basic cleaning—soapy water and a soft brush. Avoid harsh solvents. Watch for pollen and dust after windy days; they can make surfaces slick.
Wood decks appreciate care. In Salt Lake City’s UV, clear finishes fade fast; penetrating oils with UV blockers work best. Plan for a light clean and oil every year or two. It’s a ritual, like tuning skis before the first snow.
Hardware check: Each spring, give rail posts a wiggle, peek at stair screws, and look under for anything unusual. If something squeaks or shifts, we’d rather hear about it early.
Why Work With Utah Deck Company
We’re local. We know the snow loads in the foothills, the sun angles in Daybreak, and how to thread a ledger on a brick bungalow in Sugar House. Our plans meet code and satisfy inspectors, but more than that, our decks feel right. Solid underfoot. Clean lines. Details handled.
When you work with us, you get clear drawings, thoughtful material options, and a schedule that respects your time. We coordinate with HOAs, manage permits, and keep the job site tidy. It’s the boring stuff we obsess over so that your deck can be the fun part.
And yes, we’re happy to talk through Colors, borders, stair placement, and that little nook for a cold plunge or a hot tub. We’ve built them all.
Ready To Plan Your Deck? Let’s Talk
If you’re in or near Salt Lake City and thinking about a new deck—or a rebuild that finally fixes the wobbles—Utah Deck Company is here to help. We’ll walk your yard, listen to how you live, and build a plan that fits your budget and timeline.
Call us at 801-921-6826 or tap below to get started. A few minutes today can set you up for years of backyard moments you’ll love.
Utah Deck Company — your Salt Lake City deck builder for thoughtful planning, careful deck installation, and spaces that feel like home.


